Overview
In the following we list the all options to design your Chatbot, which will be explained in the Design Guide.
AI Designer
Once you visit FireChatbot.com and enter your URL the FireChatbot AI Designer will pre-design your Chatbot based on the styles on your website. This is a good starting point to adapt it to your brand identity with low effort. The AI Designer will
- Design your Chatbot using your website's color scheme
- Include your Logo
- Display your website / company name
- Read every page on your website and move the knowledge into your Knowledge Base
FireChatbot Designer Widget
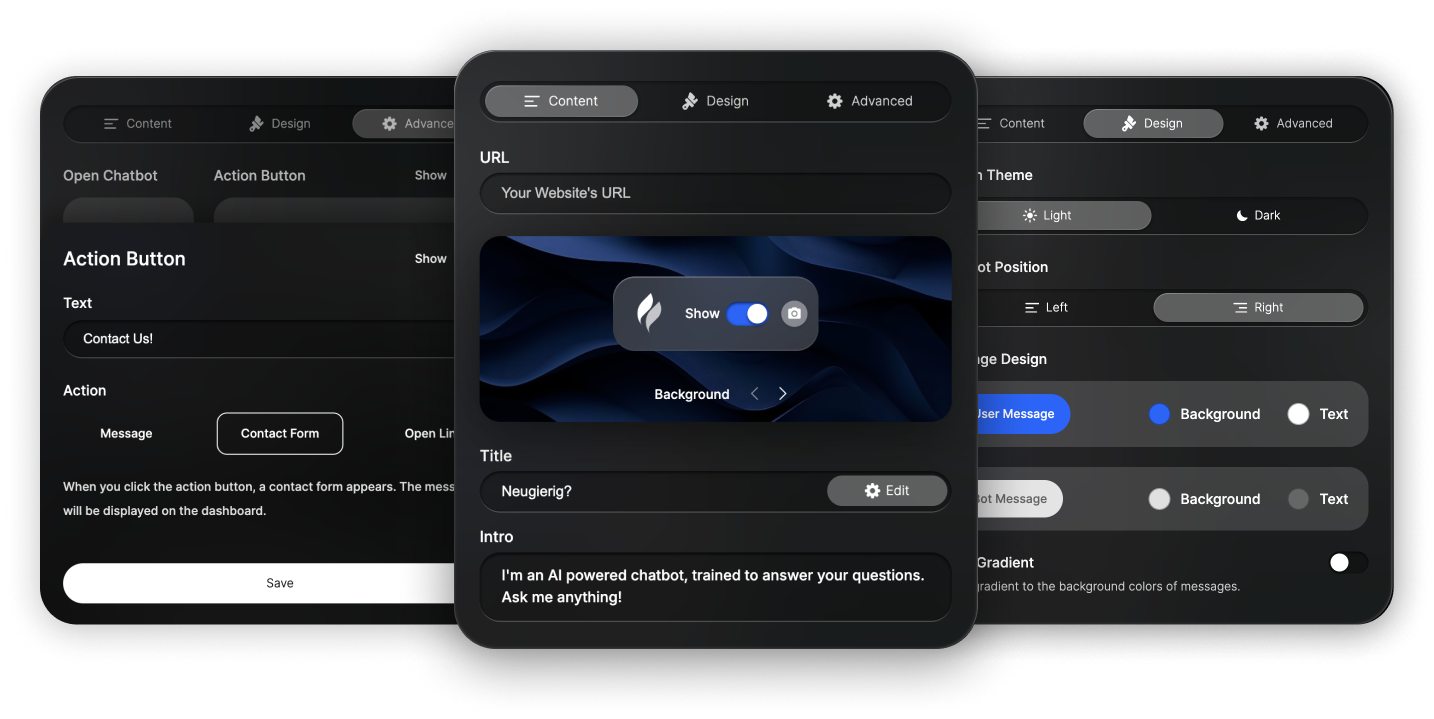
To further improve your design FireChatbot comes with a Designer Widget, that gives you countless options to personalize your Chatbot. The Designer Widget is accessible from the FireChatbot Home Page, Your Dashboard and the Preview Page, which is available inside your Dashboard.
Integrate Custom CSS
If you have custom requirements to further adapt your Chatbot's design, the Design Guide comes with a Tutorial on how to apply custom styles to your Chatbot.
Designer Widget
How to leverage FireChatbot Designer to personalize your Chatbot.
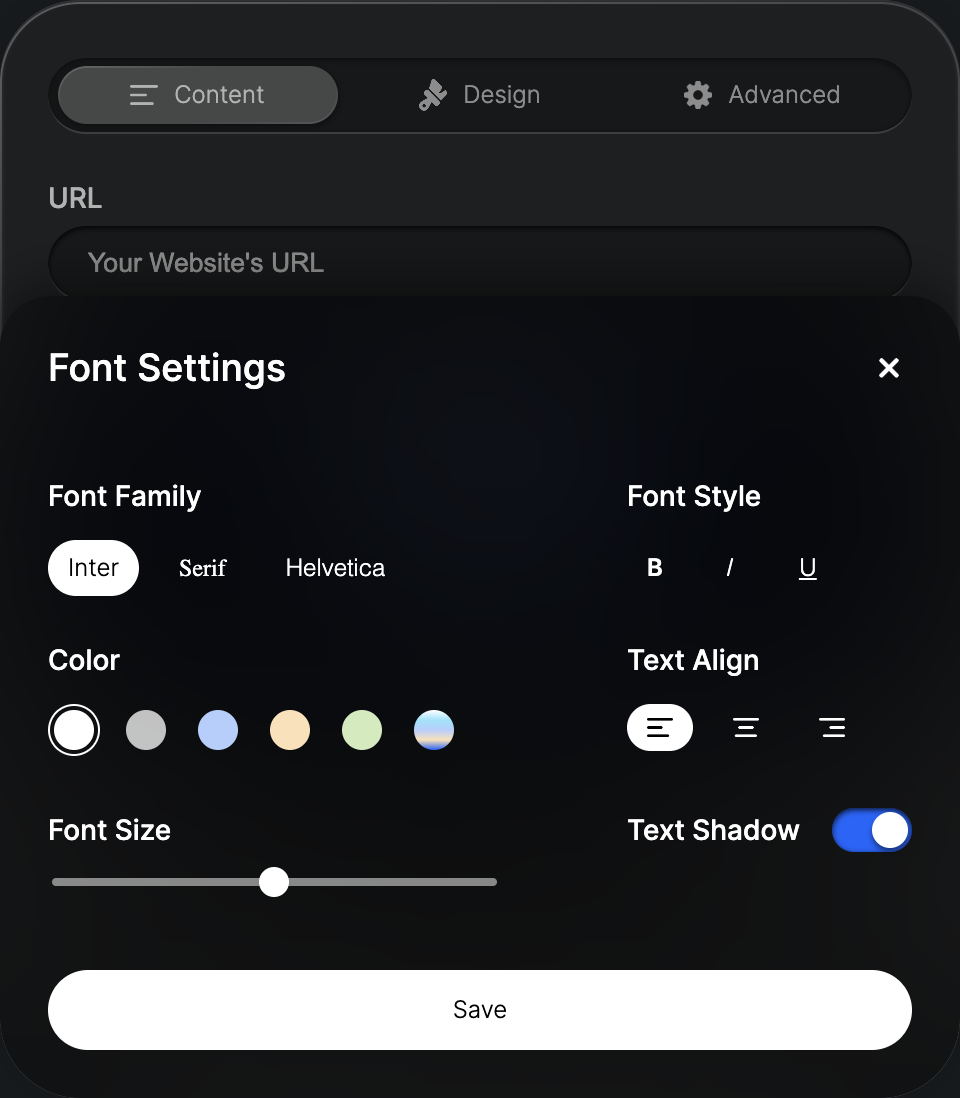
Font Settings
You can move into Font Settings by pressing the Gear Button on the right side of the Title Input. You then have the option to
- Change the Font Family
- Apply Font Styles like Bold, Italic and Underline
- Choose a Custom Font Color
- Adapt the Font Size
- Apply a Text Shadow
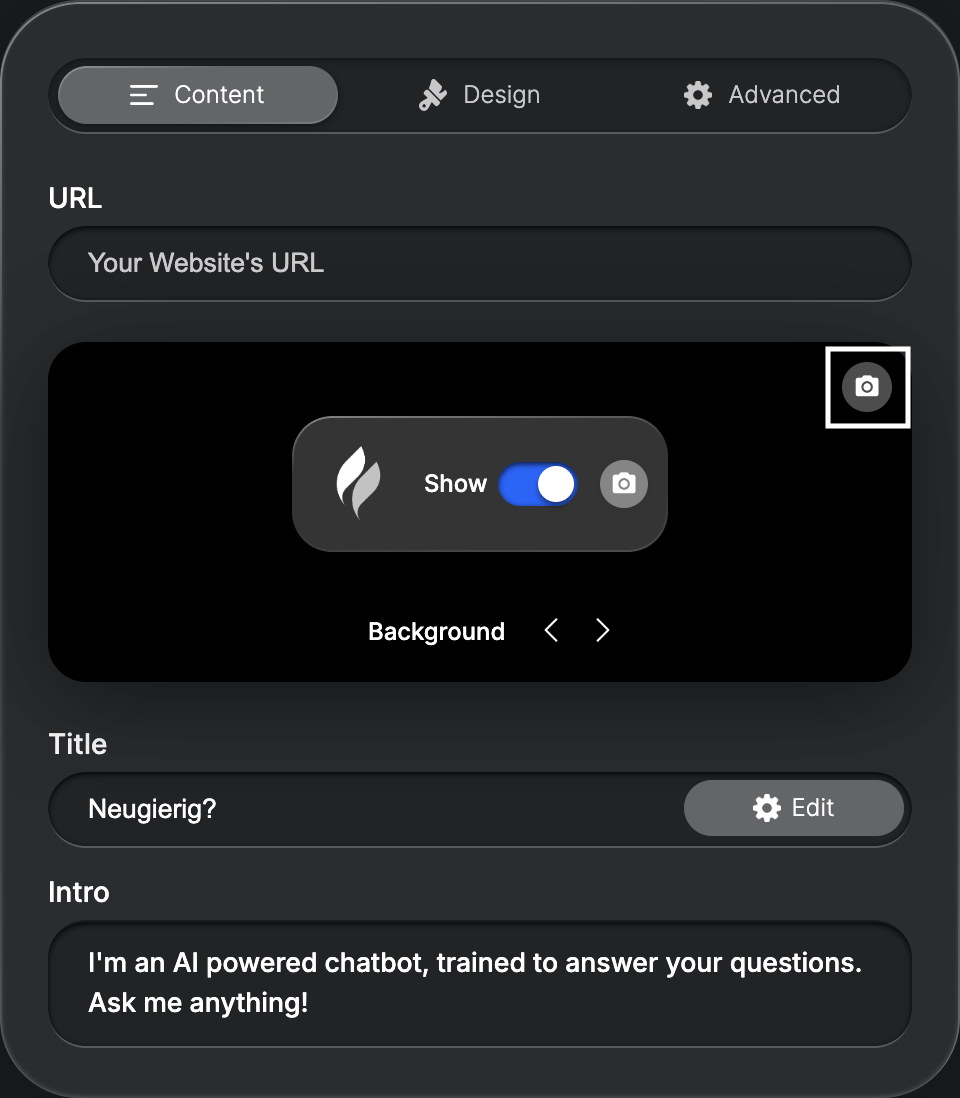
Custom Hero Teaser
In order to upload a custom image as the Hero Teaser Image of your Chatbot, navigate to the second last image in the Hero Teaser Image Gallery and click on the Camera Button. You can then upload your custom image.
The width of your image displayed on your Chatbot will be 370px by default. The height depends on the font size of your title and the height of your Intro box. We recommend to use an image with an aspect ratio of 4:3.
Your image size should not be too large, as it may negatively impact the loading time of your website.
Also, do not choose an image with a too complex background, as the title will be displayed on top of it.
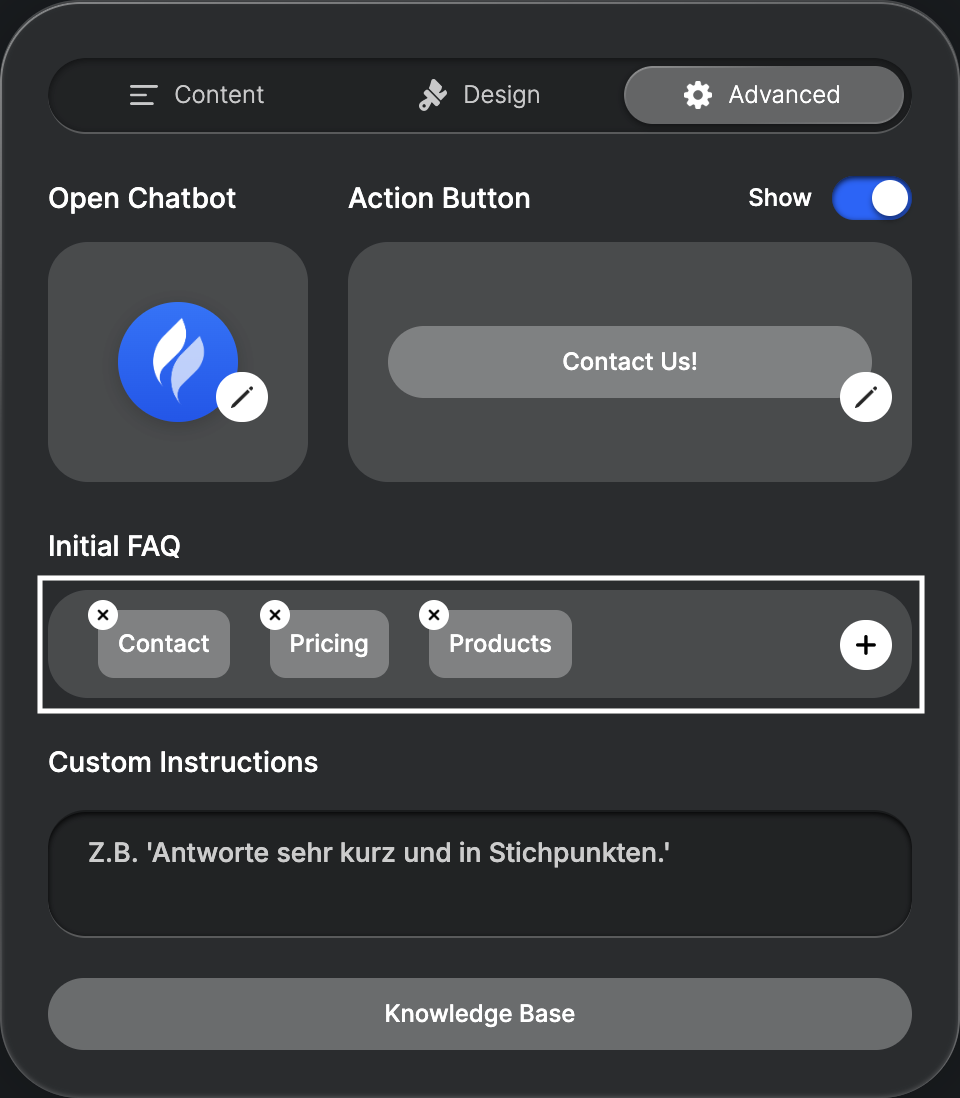
Edit FAQ Links
You can add three FAQ links to your Chatbot by navigating to the "Advanced" section and clicking into the pre-filled FAQ links inside the FAQ area. These links can be used to make your users aware of certain offers or to guide them to certain pages on your website. We recommend to keep the FAQ links short and to the point.
You can not add more than three FAQ links. This prevents the user from being confused by too many links.
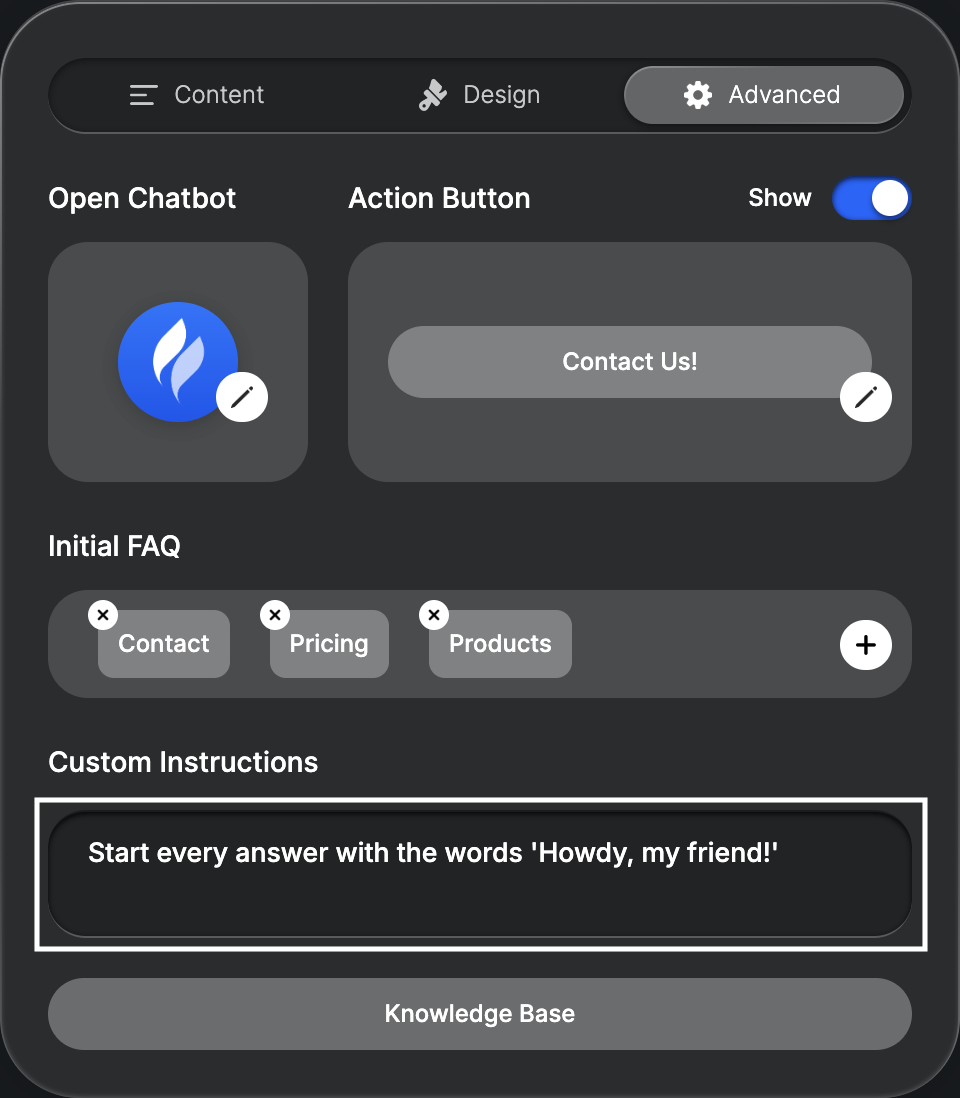
Custom Instructions
You can give your Chatbot custom instructions to modify, how it answers your users' questions. This can be benefitial, if you have a certain corporate language or if you want your Chatbot to make your users aware of certain offers.
To access the custom instructions input, navigate to the "Advanced" section. Do not make your custom instructions too long, as it may negatively impact the user experience. We recommend to keep it short and to the point.
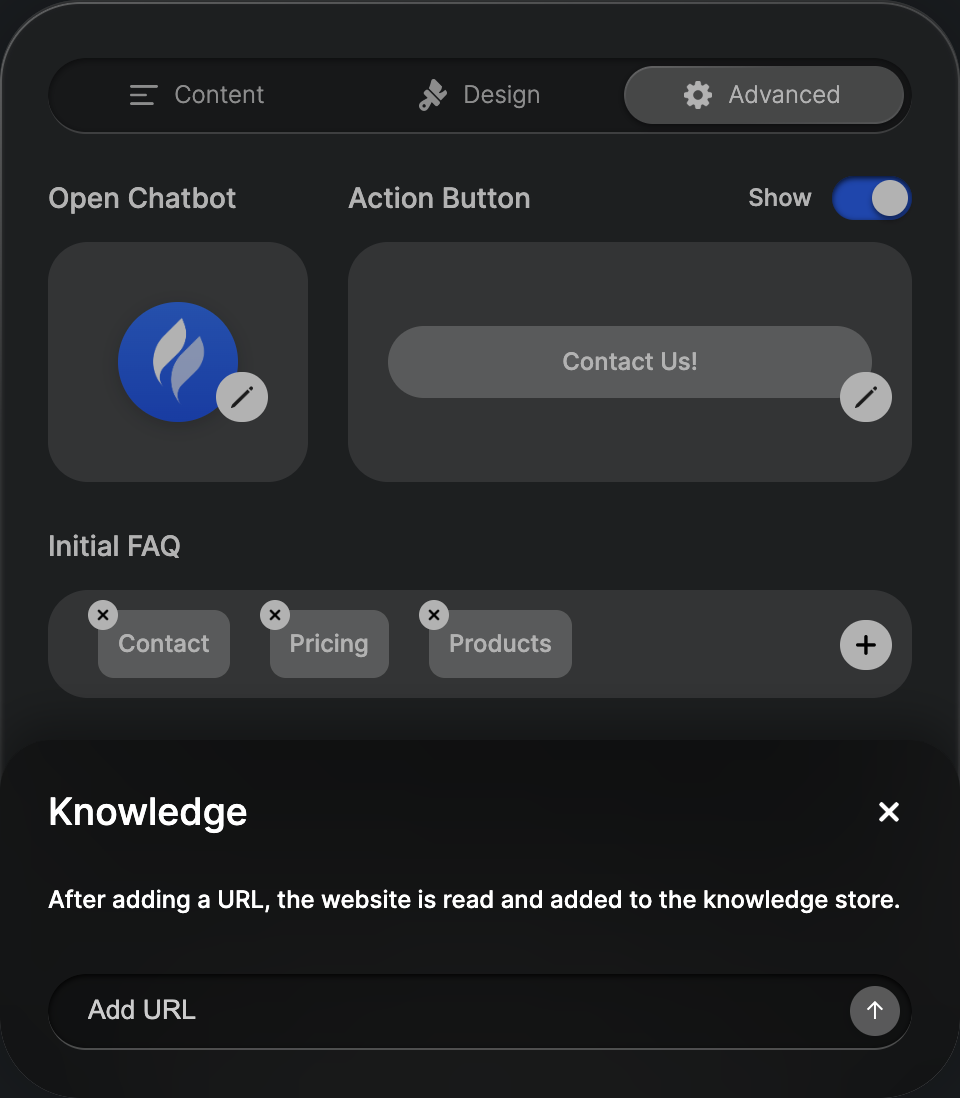
Edit Knowledge Base
You can upload new information to your Knowledge Base by navigating to the "Advanced" section and pressing the Book Button on the right side of the "Custom Instructions" input. The Knowledge you upload will later be accessible by your Chatbot to answer questions.
You can only upload knowledge in form of websites from within the Designer Widget. Text Files can be uploaded from within your Dashboard. The memory size of your knowledge base depends on your subscription. You can view the Pricing models here.
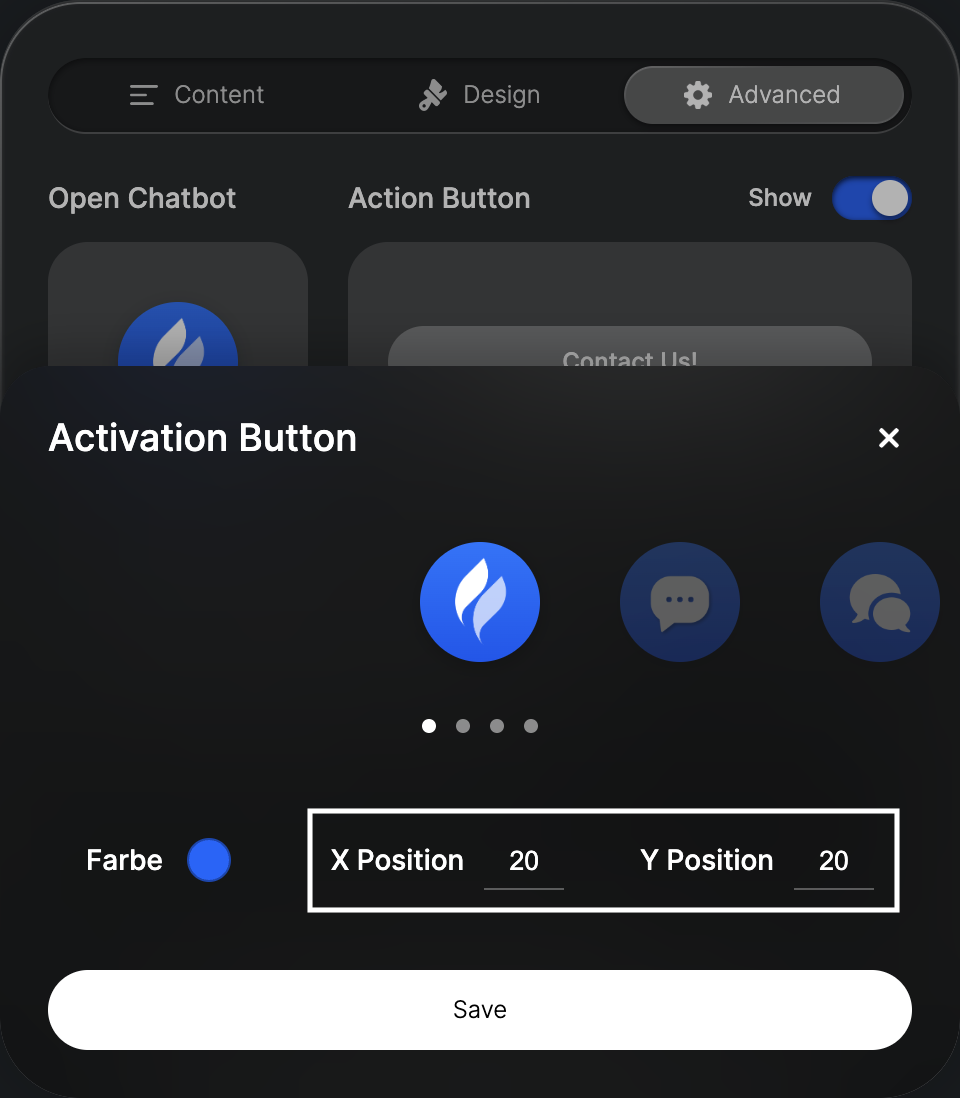
Change Chatbot Positioning
You can decide, if your Chatbot should be displayed on the left or on the right side of the screen by navigating to the "Design" section and pressing the "Left" or "Right" option in the "Chatbot Position on Screen" area.
To adapt the concrete margins to the left or right and bottom of your screen, navigate to the "Advanced" section and manipulate the "X Margin" and "Y Margin" inputs in the "Activation Button" area. The chatbot will always be displayed 20px above the Activation button. By manipulating the position of the Activation Button, you can also manipulate the position of the Chatbot.
The Chatbot will always be displayed relative to the bottom of the screen. On mobile devices it will be take up the full size of the screen.
Integrate Custom CSS
Realizing complex design requirements.
Manipulating FireChatbot CSS
If you have complex design requirements, you can manipulate the CSS of your Chatbot from within the CSS code inside your website. These styles will automatically be applied to the Chatbot once it is loaded on your website.
We recommend to use the Developer Tools of your browser to find the right CSS selectors and to test your custom CSS before applying it to your Chatbot.